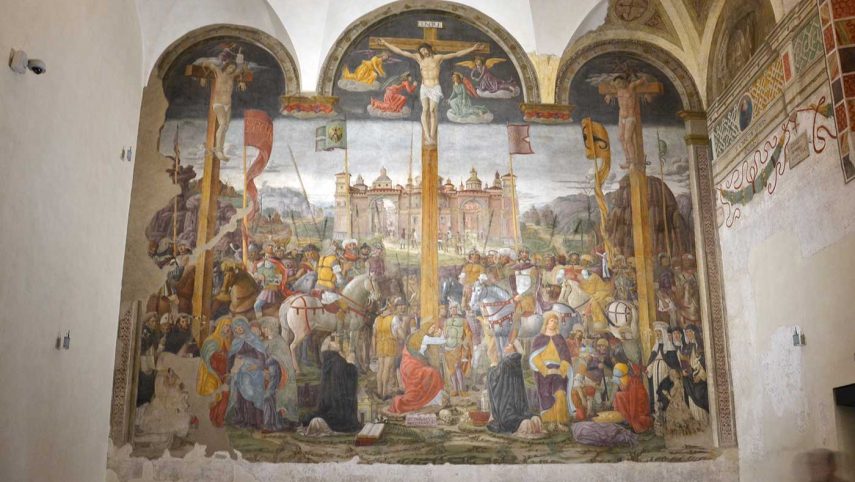
This will be an original story and we want to recount it and share it with our public, a path of discovery following every step in the developments and activities, together with insights and images. The Crucifixion has a surface area of some 50sqm.
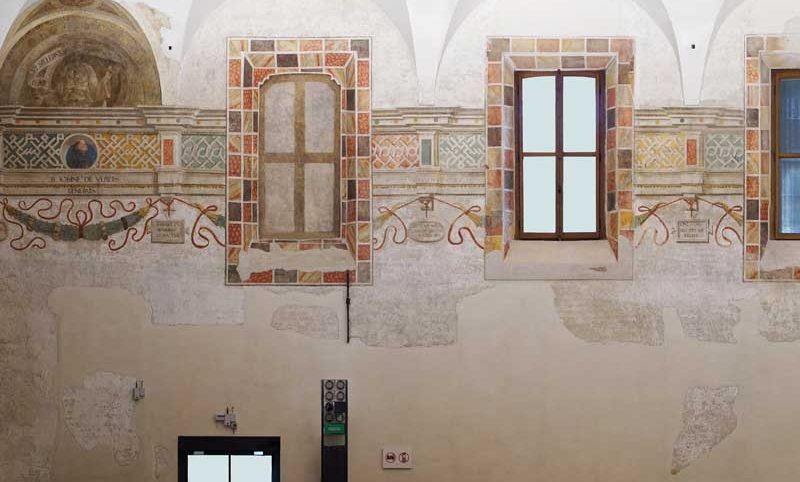
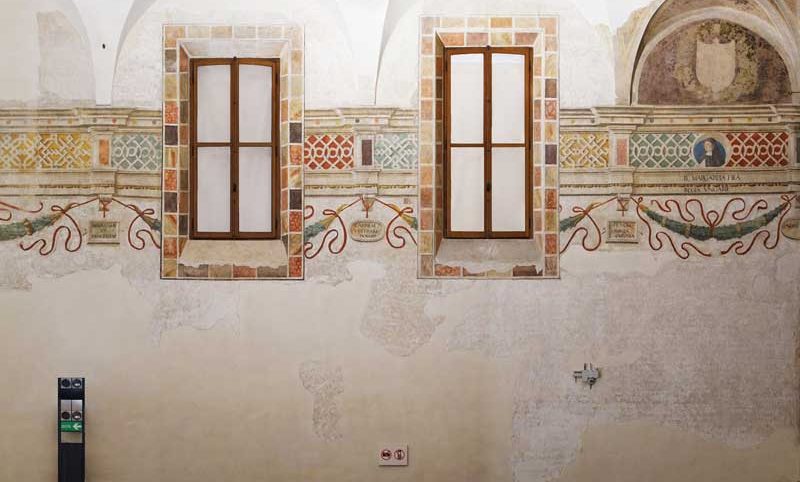
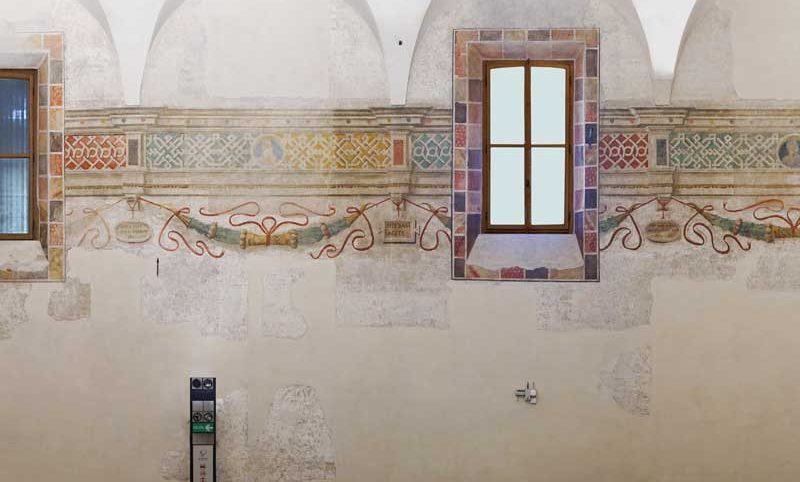
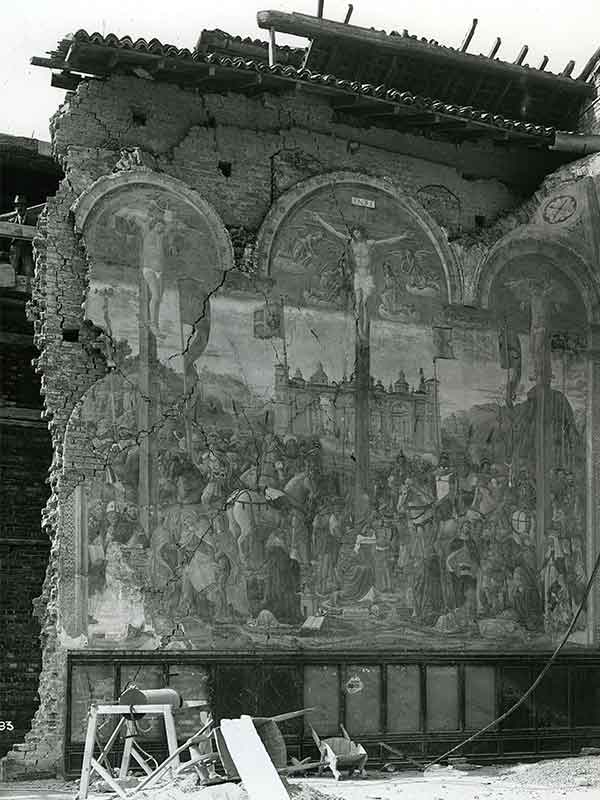
It was painted with a mixed technique that combined fresco, lime wash, dry finishes and parts in pastiglia (i.e. gesso) in relief and originally finished with metal leaf. There were also some parts finished with gold dust finish, today unfortunately only partly visible. In the corners at the bottom of the painting appear the donors: Ludovico il Moro with his elder son Ercole Massimiliano at left and Beatrice d’Este with her younger son Francesco at right, are attributed to Leonardo da Vinci. Unfortunately they have lost practically all their layers of pigment. If you want to know more go to the entry of the work On the west wall and vault there are polychrome and monochrome decorative motifs painted at different times starting in 1488, the date when the refectory was completed. Two decorated lunettes can still be seen: one adjacent to the Crucifixion depicting the prophet Isaiah, the other towards the Last Supper of a coat of arms set in a garland and attributed to Leonardo da Vinci himself.
The work being carried out respects the principles of preventive conservation adopted by the Museum of Leonardo’s Last Supper. In the last century there were at least two restoration efforts, one in the 1950s to remedy wartime damage, the other in 1995. The latter, by Pinin Brambilla Barcilon, may have also restored other decorative elements in the refectory. Since then regular close checks have been made down to the present. Brambilla herself performed one in 2012. During this periodic maintenance work, in 2020, local problems were discovered in the Crucifixion and on the vault of the refectory. In particular this affected the adhesion and cohesion of the pictorial layers, as well as damage to the numerous retouched parts. This explains the need for restoration.
Follow the updates with us from the site to discover what is happening!
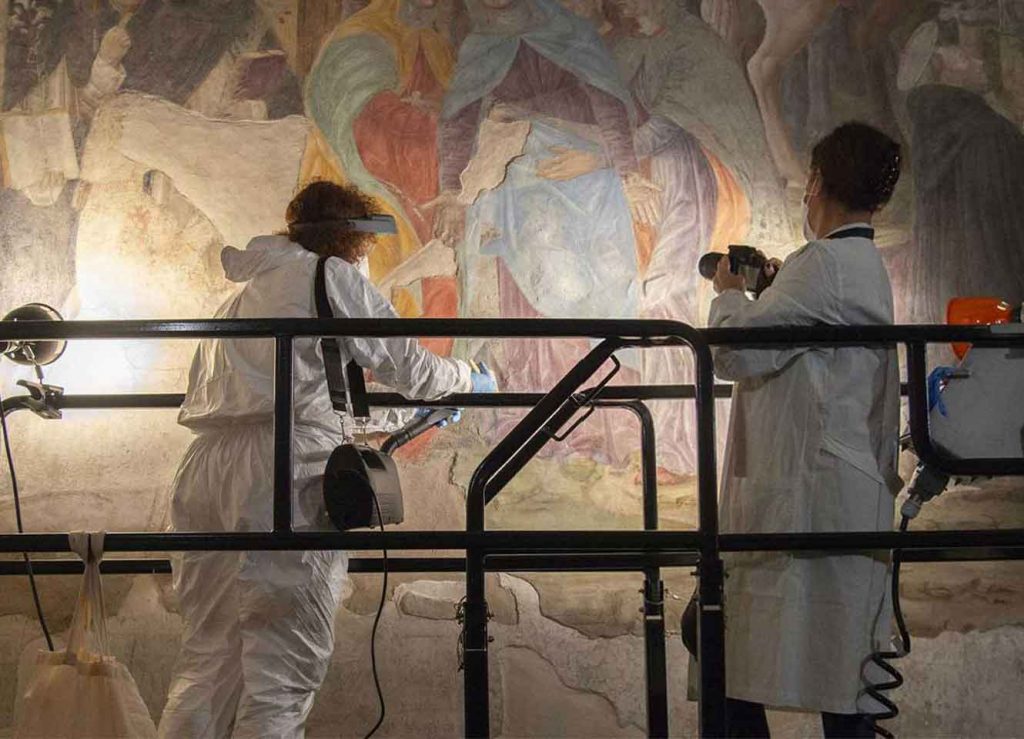
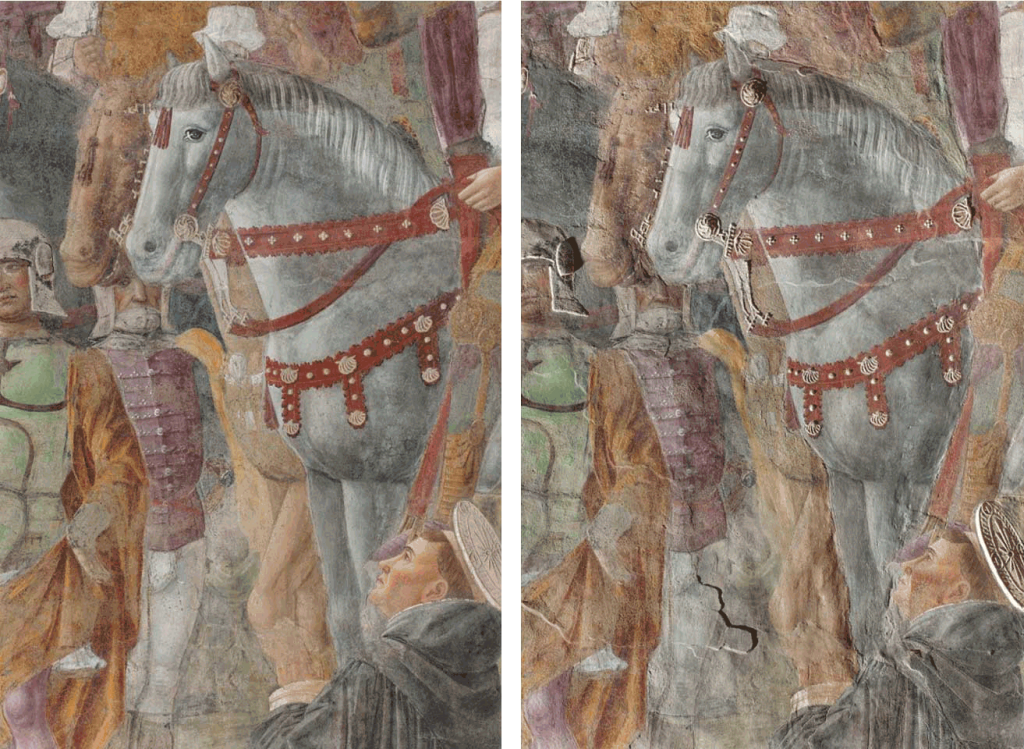
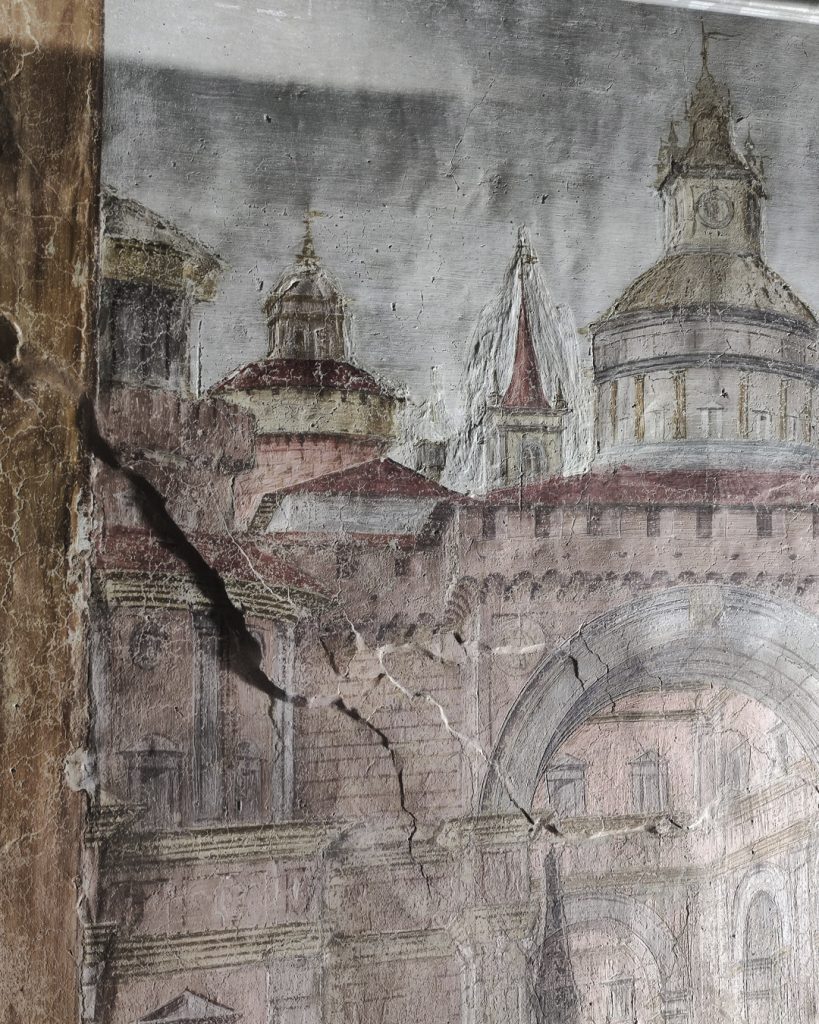
By using a mobile elevator arm, a close-up visual investigation was conducted, in greater depth thanks to photographs taken specially by a professional, both in direct light and side light. The technique of side lighting in photography uses a beam of light set practically parallel to the surface to highlight any defects, so helping the restorer make a diagnosis and, as we will see, it facilitates the study of the pictorial technique.
These observations revealed some problems of preservation: local defects of adhesion of the plaster and the film of pigment, circumscribed flaws in both the plaster and the paint, cracks, residues of lime plaster and fixatives from the previous restoration work. In addition, a superficial layer of dust and particulate matter, together with the changes caused by the years of pictorial retouching during the various restorations of the work had altered the colours.
This preliminary analysis and its results were the basis of the work we did. We will tell you all about it in the coming weeks starting from the preparation of the scaffolding.
Stay tuned!
A worksite set in an environment characterized by such a delicate balance has to respect its needs.
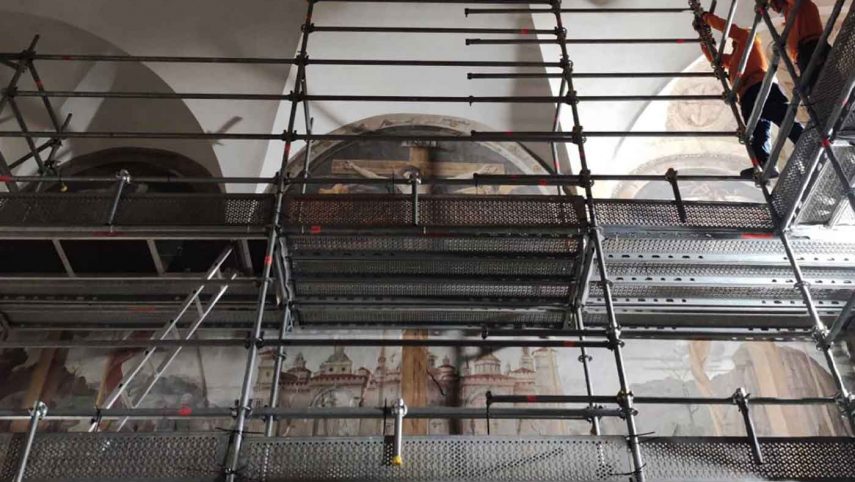
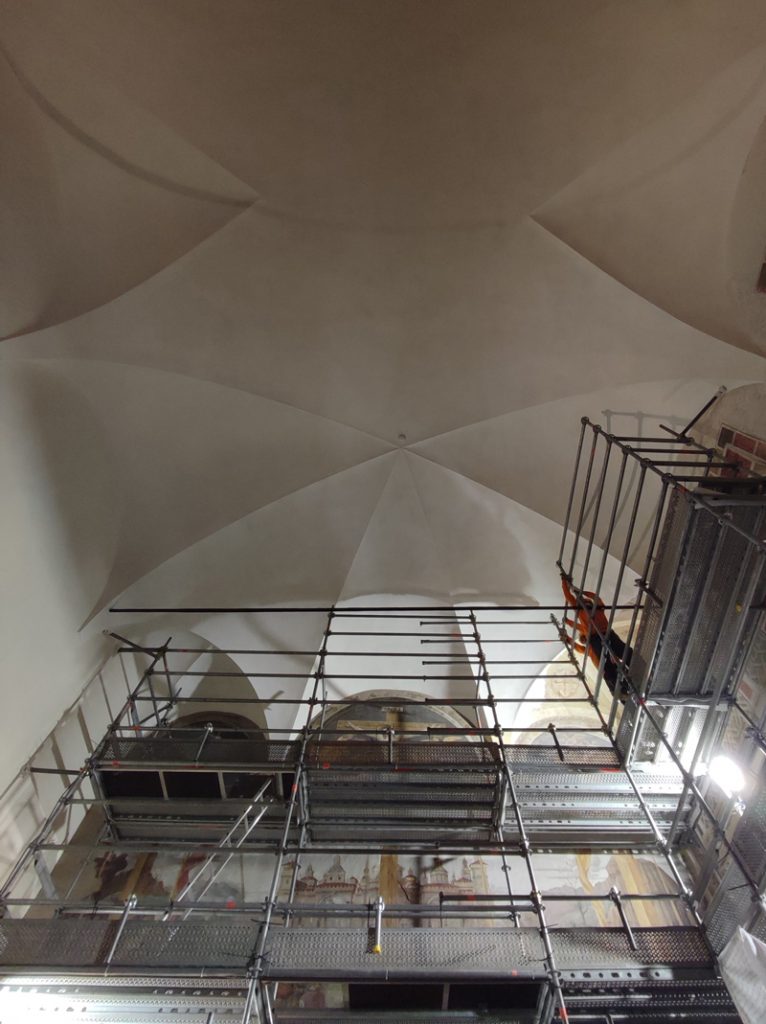
Even the preparation of the scaffolding requires a careful design. In fact, the possible interferences of the structures with the operation of the refectory-machine were evaluated and the work is being carried out to minimise its impact in every way.
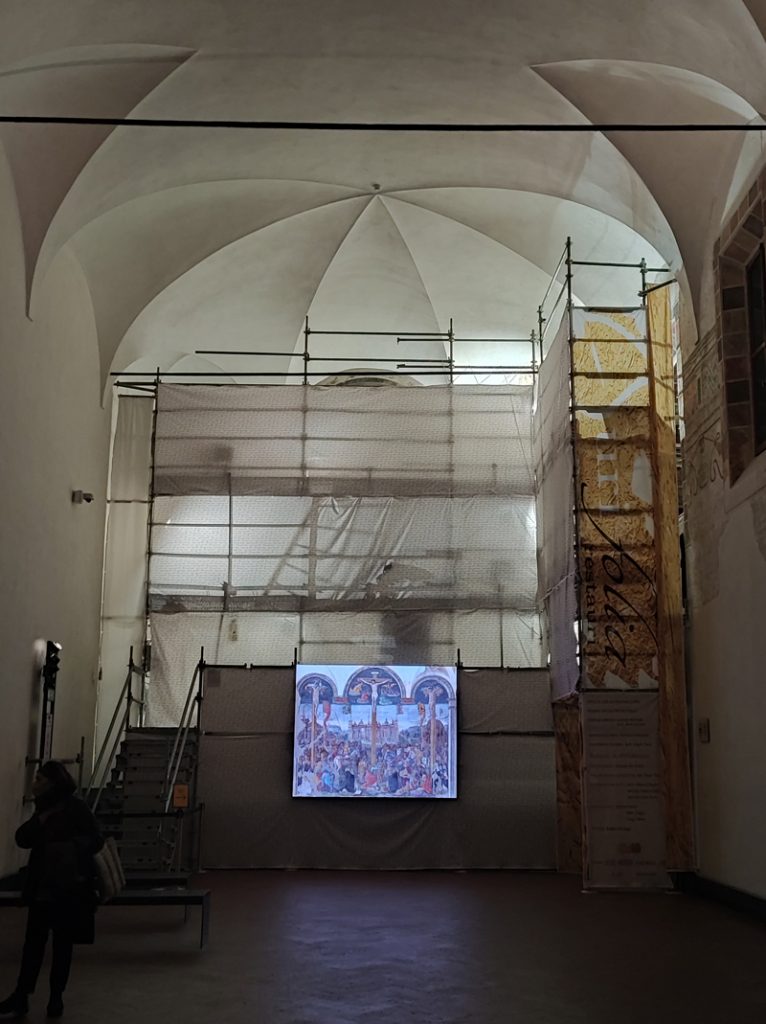
The structures are designed to adapt to the irregularities of a historic building while allowing adequate working spaces and without interfering with the air filtering system, which is essential to proper preservation. Materials that generate or attract dust have been banned and replaced with others that are inert. The sheets covering them, for example, are made of a display fabric that does not release fibres, is completely opaque and, positioned on all sides of the scaffolding, reduces the exchange of particles due to the normal presence of the public in the room and those due to restoration work.
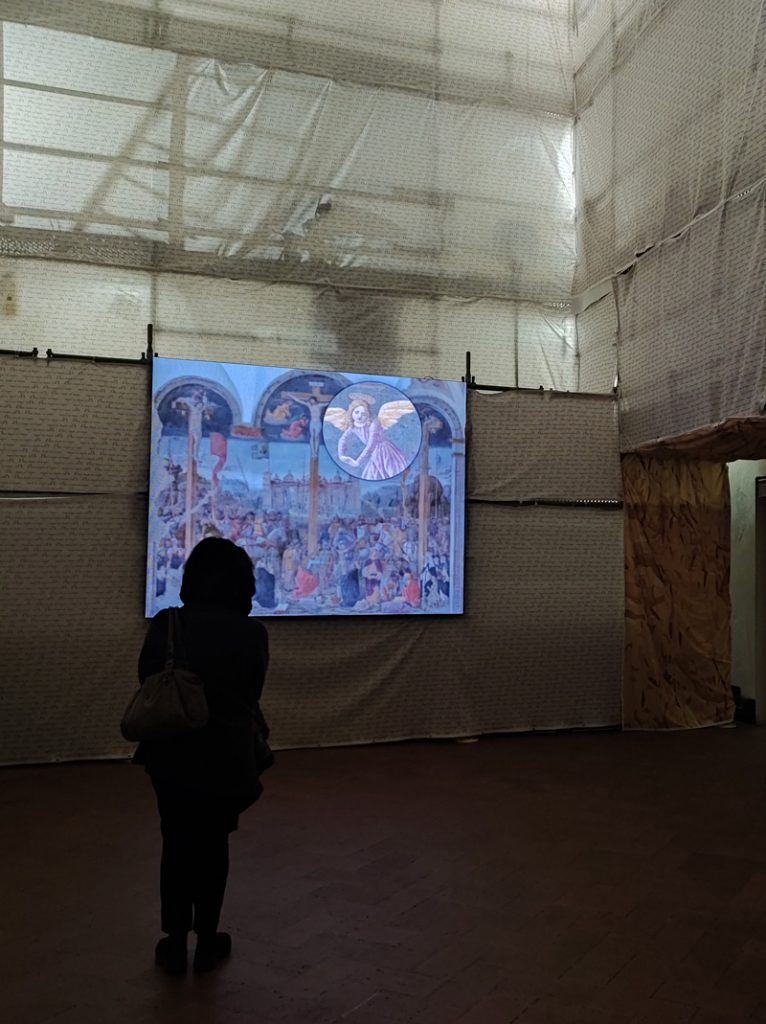
The same attention has been paid to you visitors. Preparations for the worksite and restoration were planned so as to keep the Museum open for the whole duration of the work, reserving the most complex or noisy operations for closing times. In addition, a LED wall anchored to the scaffolding shows the details of the work temporarily hidden.
Now everything is ready to start the restoration, what will be the next step? Follow us to find out!
Flaking of the plaster and the film of pigment were noted at some points, with a loss of plaster and paint, together with cracks, residues of gesso and fixative, and the alteration of the pictorial retouching from previous restorations.
But it was only when the scaffolding was up that the restoration workers could systematically analyse the work and found a situation that was different in some ways.
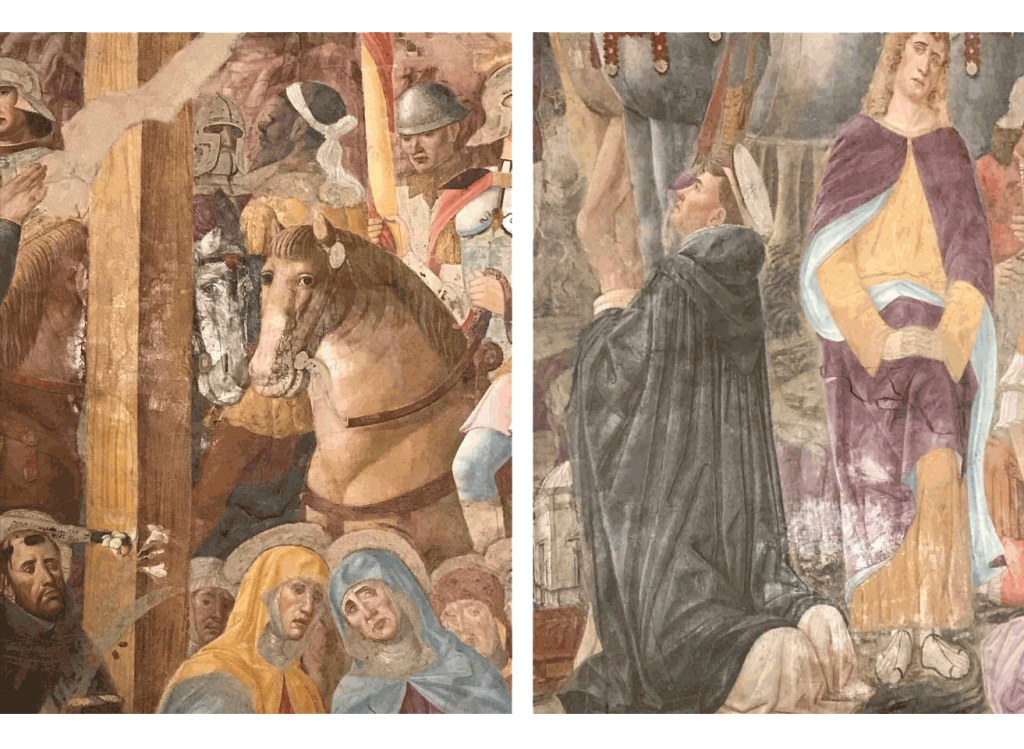
In particular, it was clear that the loss of plaster went deeper than had been thought and that the state of the residues of finishes of metal foil, applied by Montorfano to highlight details such as helmets, harnesses or armour, was also rather poor. The pictorial film was obscured by a thin grey veil and extensive horizontal glossy areas appeared clearly.
Close observation under a microscope found microscopic traces of azurite on the sky. This was once deep blue in the upper part and light blue in the area closer to the architecture. This part had been applied with enamel, a glass-based pigment, but due to the humidity (once common in the refectory) it had turned grey.
So how do restoration workers approach an artwork? What are the first steps they take?
In this way we enter a historical chain: the actions and studies that we now conduct on the work will become the material for future archival research and a starting point for further restoration projects.
Research, observations and diagnostics enable the experts who have to plan and carry out the restoration to understand the problems they are faced with, explore critical issues, and confirm or refute the various theories formulated about the history of the work. In preparing for the restoration of Montorfano’s Crucifixion, research focused on written and visual records kept in the archives of the Superintendency of Archaeology, Fine Arts and Landscape of the metropolitan city of Milan, which managed the museum for a long time, as well as historical photographs, the 19th and 20th century bibliography, and film clips.
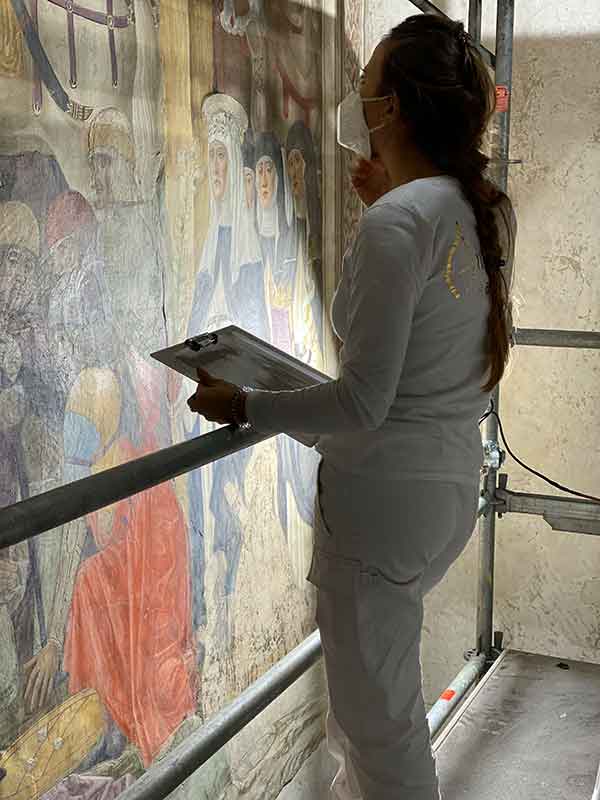
On the scaffolding, the work of mapping has begun, at first performed by hand and then digitally transferred to VECTOR SUPPORTS in CAD. They are organised by themes: techniques of execution, state of preservation, previous intervention, diagnostic insights. All the information collected is stored on the SICaR IT platform at the Ministry of Culture, allowing for it to be managed and consulted.
So what have we learnt about the surfaces in the refectory of Santa Maria delle Grazie from this work? We will be talking about it in the coming weeks!
Close study of the fresco, with the results transferred to a detailed graph, identified traces revealing the “pontate” (horizontal bands that followed the width of the scaffolding) and the “giornate” , or “day’s work”, small sections of the plaster that the artist painted before they dried. When the plaster dried it would not absorb the pigments permanently, so any unpainted plaster was removed.
Although the complex sequence of “giornate” and numerous ripensamenti (points where the artist changed his mind) are still being studied, we know that Donato da Montorfano painted the fresco from top to bottom and left to right, dividing the scene into small sections depending on their complexity. The first days’ work defined the architectural framework, as can be seen on the surviving right-hand pilaster. Then he painted the section of sky in the lunettes and the main banners. A day’s work was spent on the central cross, without the figure of Christ, to the figures on horseback. One or more days were sent on the three knights with helmets beneath the three crosses, identified by their blue-green, yellow and white armour. They were the first figures completed, probably because as reference points for the whole composition.
The study also identified the techniques used to transfer the preliminary drawing to the plaster. In addition to the use of strings dipped in pigment and stretched tight to fix the general outlines of the pictorial space, direct incisions were also made in the plaster to mark the parts over which metal sheets were later applied. These can be seen on the painting. Indirect incisions, made by pressing a spike into the outlines of the drawing on the cartoon, fixed the outlines of the profiles and drapery. Because the layer of paint is transparent, traces of powder have also been identified in smaller details. (In transferring a drawing from a cartoon, holes were sometimes pricked in the outline and then dabbed with powder, leaving a trace for the painter. This technique is called “pouncing”.)
So what techniques were used for painting after transferring the preparatory drawing? We’ll tell you about that in the next update.
The term “dry” refers to the application of paint to dry plaster, with pigments mixed with various binders, some organic (casein, egg white, oil), others mineral (lime).
The combination of different techniques should not be interpreted as an error by the artist surprised by the unexpected drying of the plaster: in this case he would have replaced the portion of the dry surface with the damp “fresco plaster”. The change from one technique to another was planned from the start, to create particular effects or meet to the needs of pigments that are altered by contact with lime plaster. This is clearly explained in the Libro dell’Arte, the famous treatise that the painter Cennino Cennini wrote in the early 15th century, illustrating the main techniques used by artists in his day and a fundamental source-book for us.
Montorfano’s technique is consistent with the general information contained in the treatise, but above all with the traditional Lombard predilection for a rich, textured painting with a varied surface.
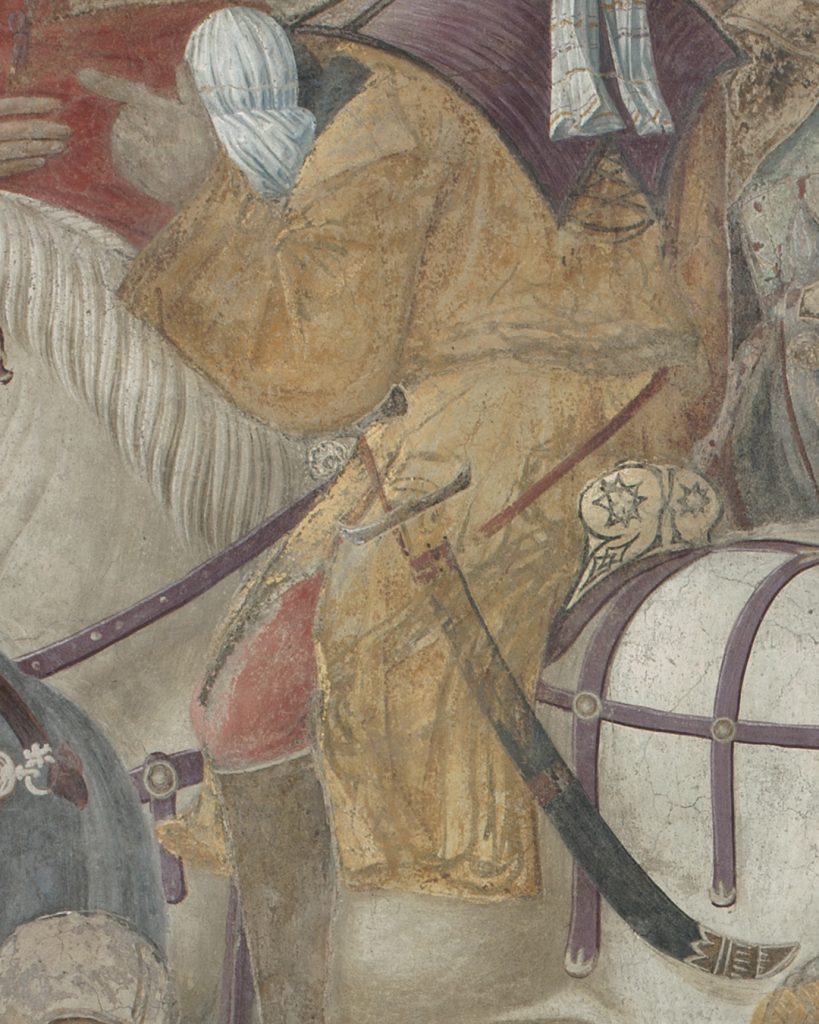
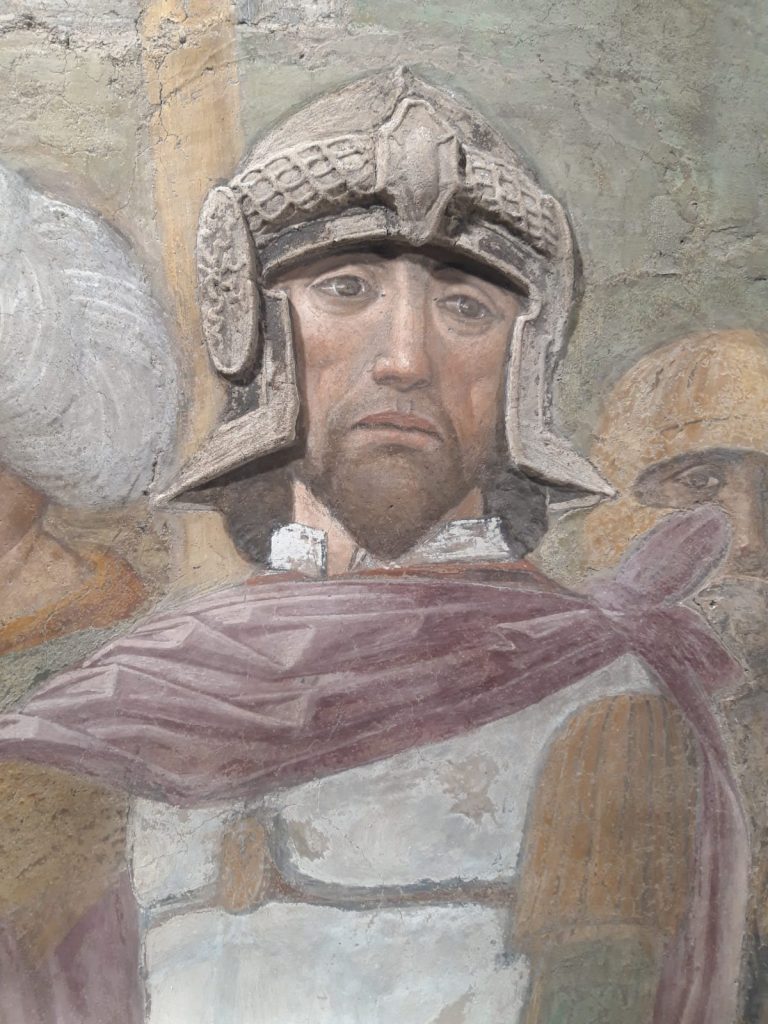
In Montorfano’s painting, for example, almost all the helmets and armour of the knights, as well as other details, like the tips of the spears and the bucket of the man at the foot of the cross, are not only modelled in relief, but have traces of metal foil.
This is almost certainly made of tin, now oxidised and dark, applied with the “mordant” system, which uses an oleo-resinous (mordant) adhesive mixture which could be of different colours, from white to red.
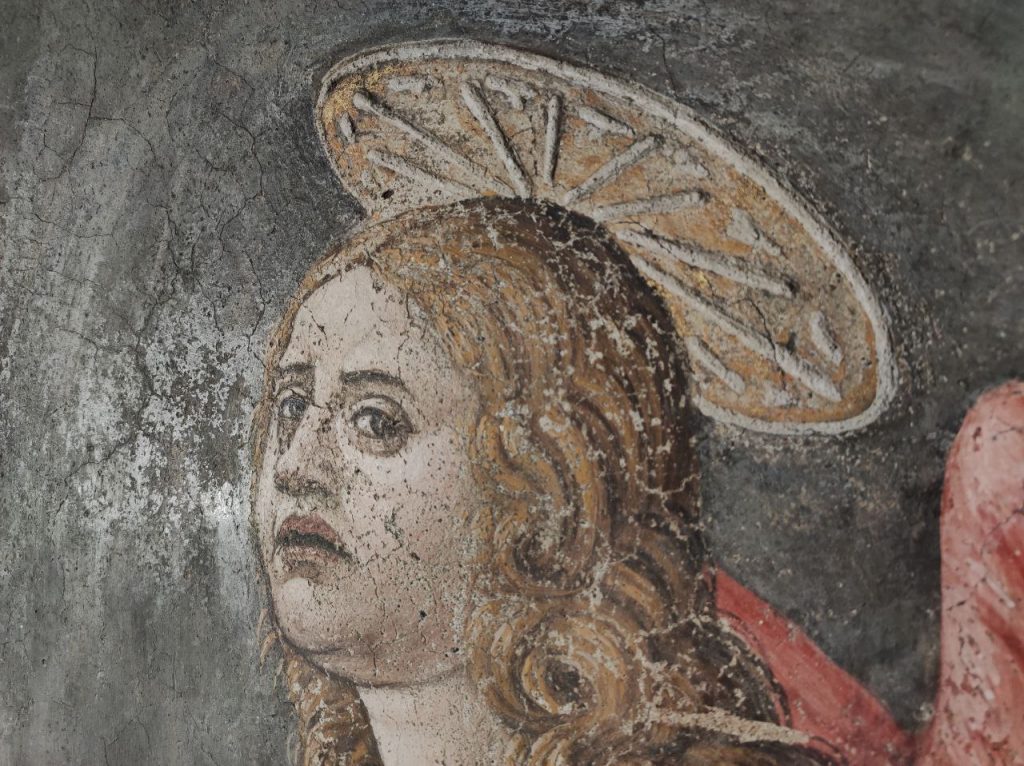
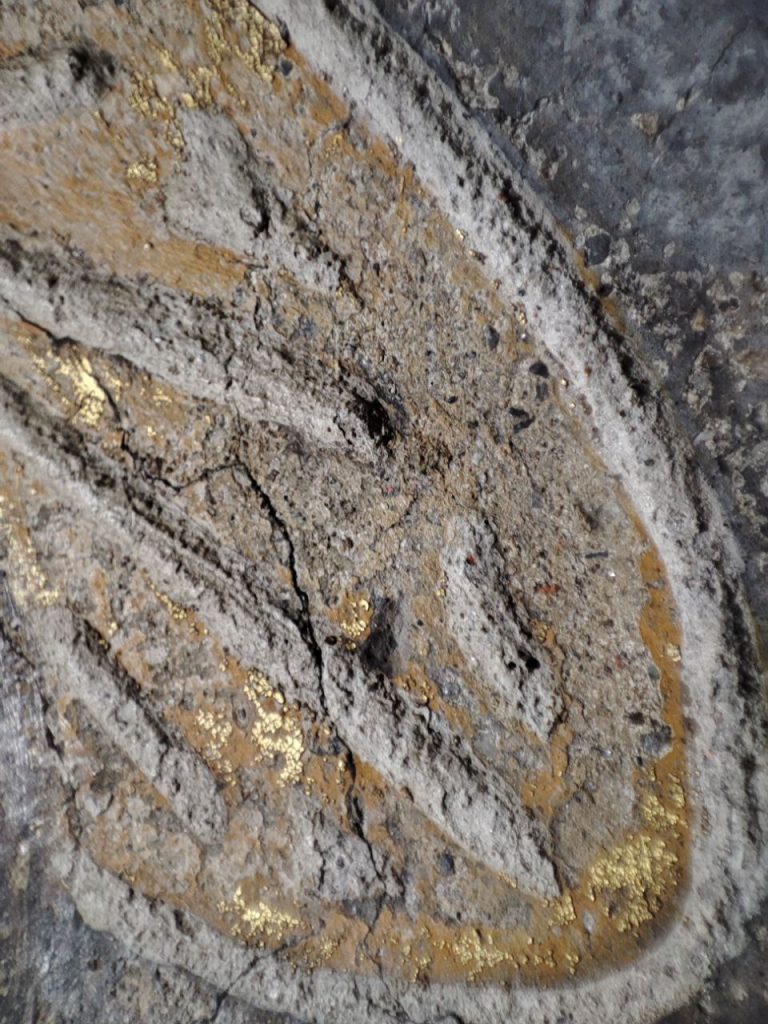
The metal foil was added over the finished paint, when the mortar was perfectly dry, and made to adhere with the mordant. Apart from tin, as in this case, the metal foil might also be silver, which oxidises even more rapidly (as Cennino wrote “it does not last and turns black”), or gold. Naturally this was reserved for the haloes and studs and embossed decorations on horse harnesses.
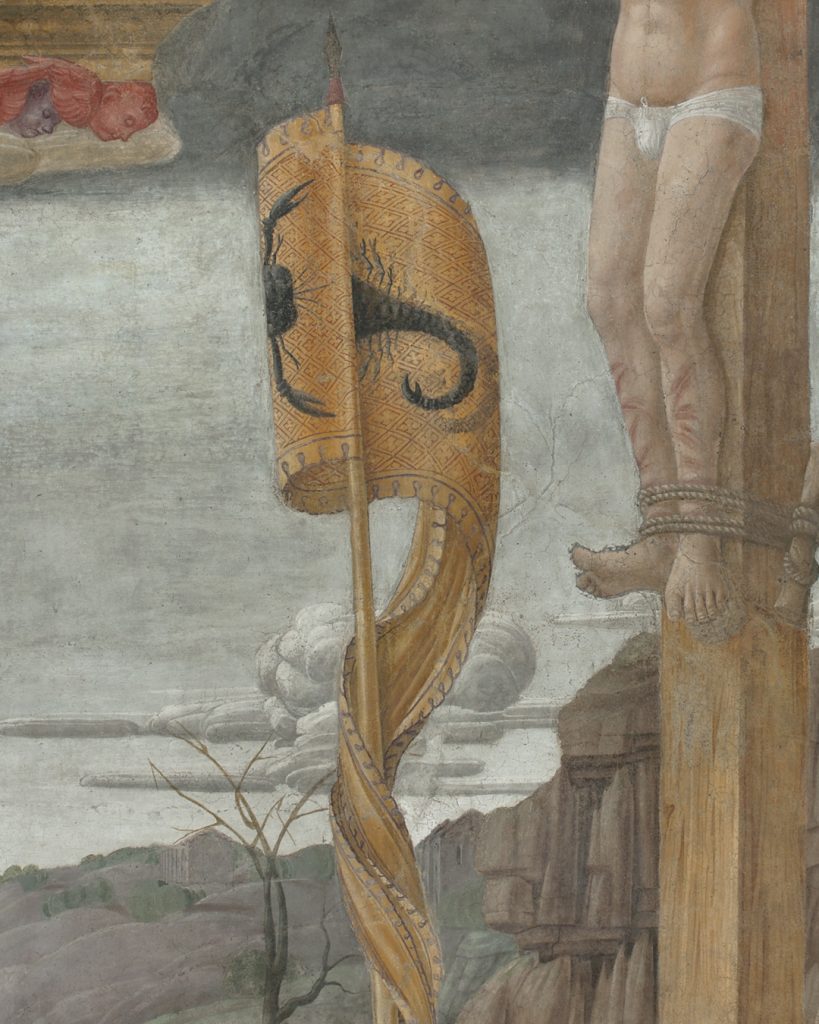
In the Crucifixion, gold was used to embellish the hems of the robes, the mouldings and capitals that define the lunettes, and the fabric of the banners. Unfortunately, all trace has been lost of the gilding that adorned the edges of Christ’s robe, the garments of the soldiers playing dice at the foot of the cross, the mantle of John and of the pious woman supporting the Virgin Mary.
We can now only see it in negative, from the traces left by the mordant and the gaps in the background colour.
But close study of the work has revealed many other details of the execution of the Crucifixion. Would you like to see which ones? Follow our next updates.